When I first began blogging, I knew I didn’t want use my browser every time I wanted to blog about something. I wanted a local program that I could use to compose my blog entries and one that would also easily allow me to keep an offline record of all of my journal entries. For a while, I just created a folder on my hard drive and used Apple’s Pages (in the iWork suite) to write my entries. This worked well, but I wanted something more. I was sick of having to open my browser, then copy and paste the entire entry into the text box in the browser, then reformat everything with HTML. After a bit of searching, I found several different types of journaling/blogging software. Most of them were quite hideous looking (I’m very meticulous as to how my programs look) and they didn’t have a lot of the features I wanted. I eventually found one with exactly what I was looking for.
This application is called Journaler. The first thing I noticed was how well it used the beautiful Mac OS X interface. It even allowed me to change between the three major themes of Mac OS X applications: normal, unified gray and brushed metal.
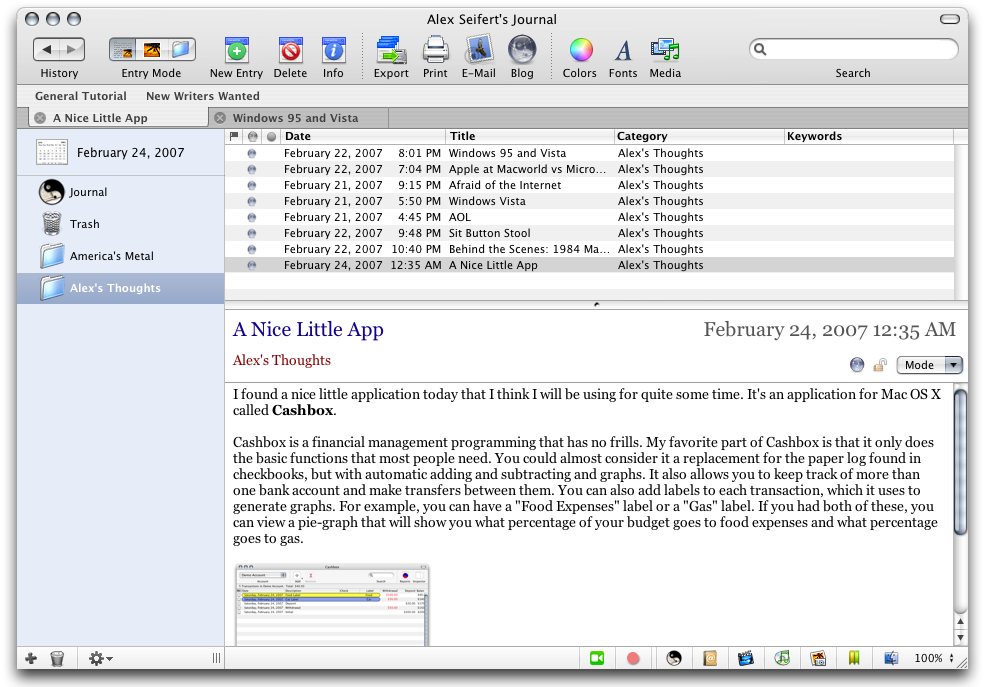
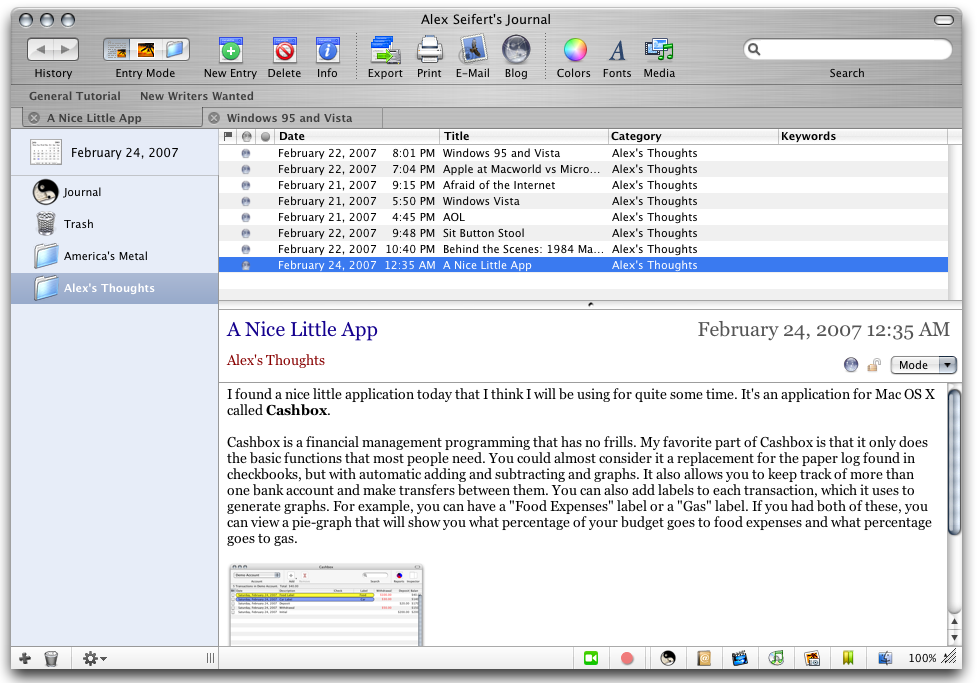
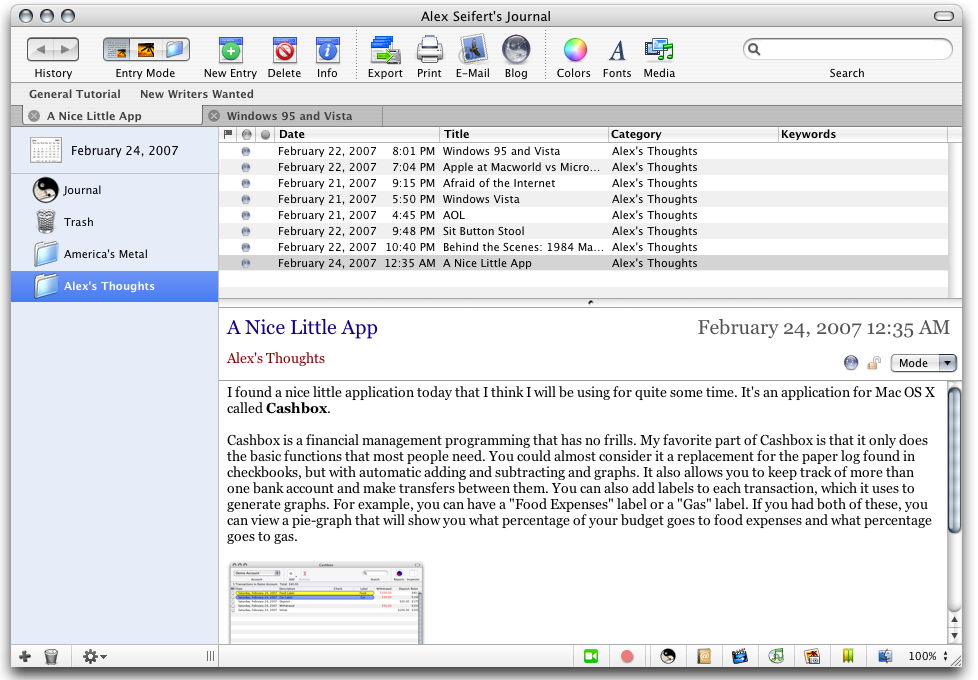
Journaler looks a lot like the Mail app that comes with Mac OS X. It was also just as easy to use. On the left side, you can have folders and even smart folders to help organize entries. On the right side, you have a list of entries in the currently selected folder (you can select the standard folder called “Journal” to view all of your entries). Below it, you have an editor to edit the entries. You can either edit or create new entries in this standard three panel view or you can open an entry in a new window to edit it. The other feature I really liked about it was the tabs. In the three panel view, you can have more than one tab open at a time, which means you can easily have more than one entry open at a time; no matter what folder the entry is in. This eliminates the need to have more than one window open or the need to have to constantly switch back and forth between two entries.
The next thing I looked for was how nice the editor was. It appears to use the standard rich text editor that Apple supplies as part of its development kit and that Apple uses in its own TextEdit application. This rich text editor allows for almost everything offered by more feature-rich applications such as Microsoft Word or Apple’s Pages and also uses the standard Mac OS X spell checker integrated into the entire operating system. This made me happy, however, I was still afraid I would have to copy and paste it into my browser and reformat. After a bit of experimentation, I found a button called “Blog”. When I pushed this button, a window opened that displayed my entry with all of the formating I had done converted to the necessary HTML. In the preferences, you can setup as many blogs as you would like to post it to. Journaler then checks your blogging service for categories and builds a list. You can then choose the blog and the category you would like to post your blog to, click the “Post Blog” button and bam. Your blog’s posted. Your blog does have to be MetaWeblog API compatible, however. If you don’t know what this is, just ask your blog provider whether or not they support it. Most major blog providers do support it. Also, you do have to upload images and media via your blog’s website.
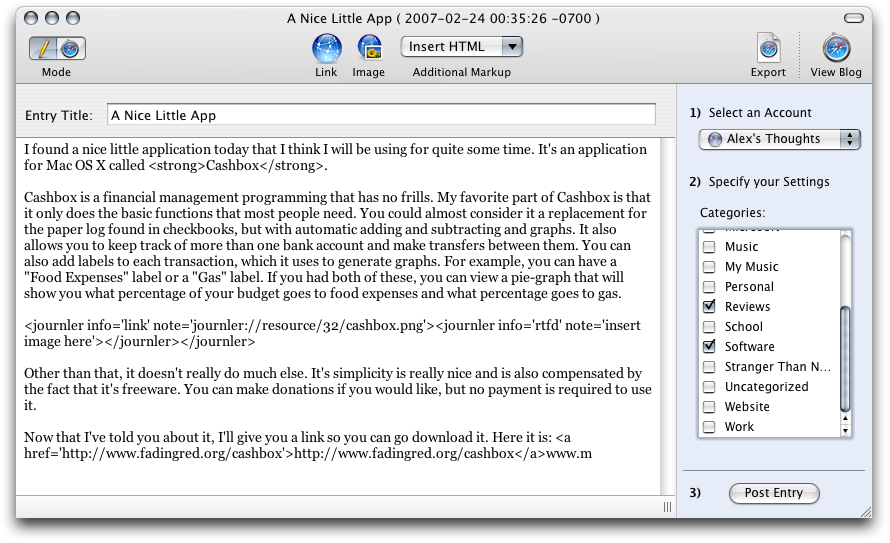
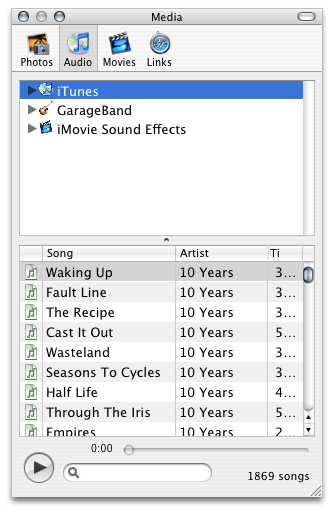
The next feature that I found (but wasn’t necessarily looking for) was integration with Apple’s iLife suite of media software. This includes iTunes, iPhoto, Garageband, iMovie, etc. By opening a window (as shown below) and dragging a file to the editor, you can easily add media content to your blog entry without even having to use the Finder or opening any of the iLife apps.
These are only some of the basic features that Journaler offers. I haven’t even begin to use or dive into some of the other features offered by it. If you have a blog and you are a Mac user, I highly recommend Journaler. It’s free for personal use and if you use it commercially or to gain any profits, there is a $24.95 licensing cost. You can also make a donation.
You can visit the Jouranler website at http://www.journler.com for more information or to download it.